Quick Start Guide
Pre-Requisite to Make Scythe Happy
Scythe doesn't require special materials. However, Scythe functions best when it can get the intended size of your materials, and it does that by trying to get the texture size from your main texture plugged into Base Color. 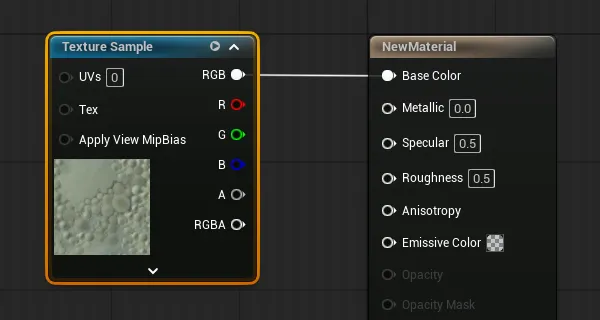
Make sure your base material has a parameter for the Base Color texture that's named one of these:
- Albedo
- BaseColor
- Diffuse
- Color
- Texture
- BaseColorTexture
If you want to use a different parameter name, you can add your own to the Scythe settings.
[Project Settings > Scythe]
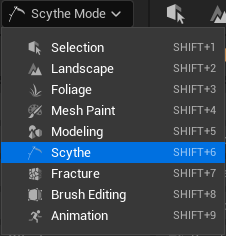
Activate Scythe Mode
Press Shift + 6 Or select Scythe from the Editor Modes dropdown.
Creating Geometry
 Open the Block Tools on the left toolbar.
Open the ![]() Add BlockShift + B tool.
Add BlockShift + B tool.
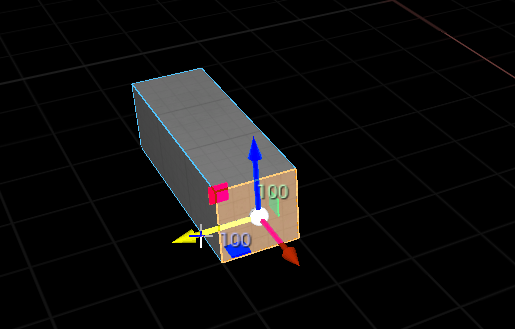
 Drag out a block.
 You can hold Ctrl to flip the block grid towards the camera
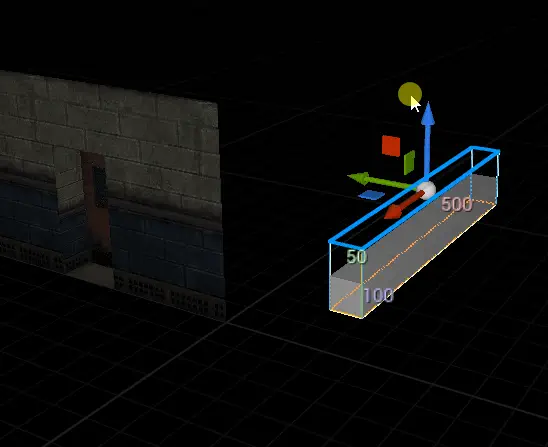
 Hold Shift to place the block on a wall.
Selection
You can switch between selection modes using the buttons in the Selection Modes panel 
The green modes are triangle selection modes, which allow you to select vertices, edges, or faces of the mesh. You can quickly toggle between polygroup/triangle modes with 6.
The blue modes are group selection modes, which allow you to select groups of vertices, edges, or faces based on their polygroups. You'll mostly work in group selection modes.
INFO
The mesh must have polygroups generated to use the Group selection modes. All meshes created with Scythe have polygroups by default, but they can also be generated in modeling tools.
Additional Important Selection Shortcuts
Flood Fill / Edge LoopDouble Click
Select Faces on PlaneCapsLock / Mouse4 / Mouse5 + Double Click
Path SelectionHold Left Mouse Button + Drag
Path Selection
 Click and hold, then drag to select all in path. Works for Vertices, Edges, and Faces.
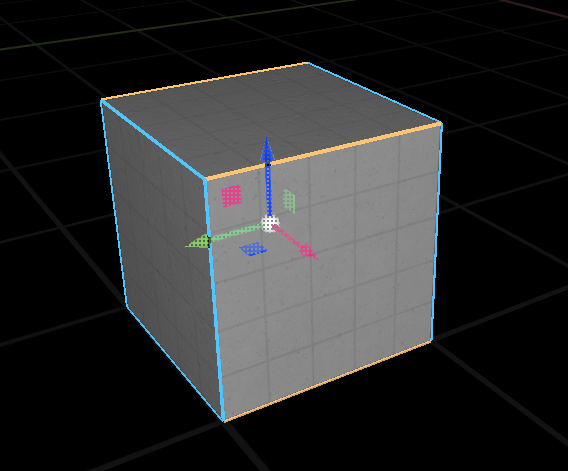
Converting Selections
 Any element selection can be converted to another element by switching to the other element selection mode with an active selection.
Example
In ![]() Polygroup Edges2 mode:
Polygroup Edges2 mode:
- Select an edge
- Switch to
 Polygroup Faces3 to convert the current selection to a face selection
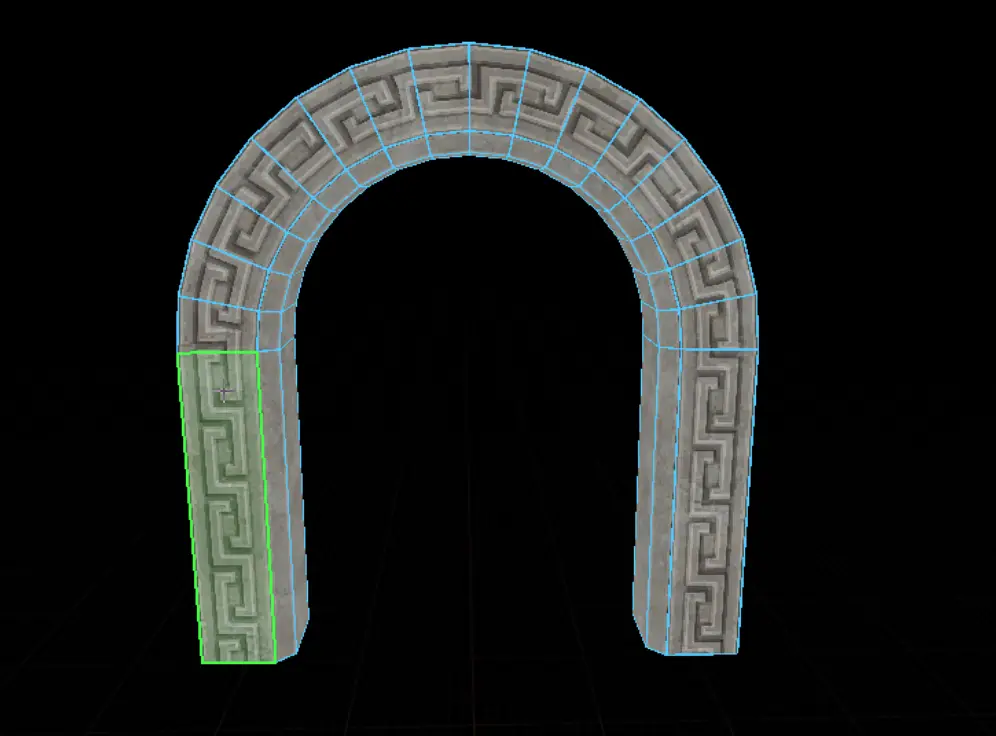
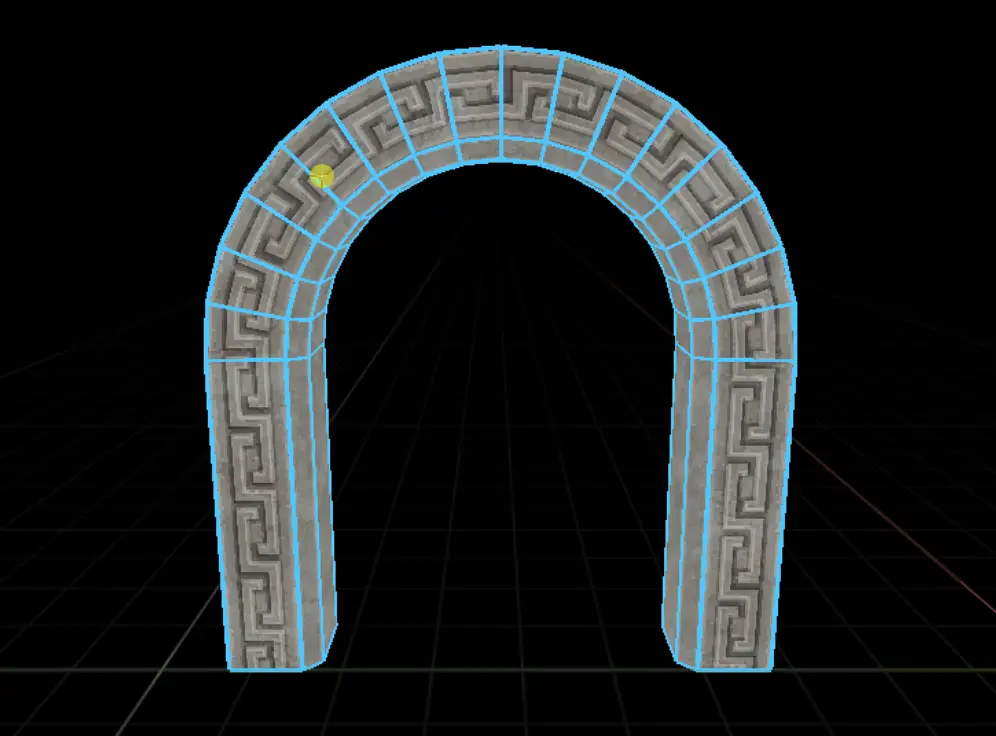
Quick Ring Selection Tip
- Select an edge
 Select Edge RingX
- Convert it to faces with Polygroup Faces3
You can see that in action in the above gif. It's incredibly useful to do all sorts of selections, even to just select all 4 sides of a pillar quickly without needing to move your camera.
Extruding Faces
In ![]() Polygroup Faces3 selection mode
Polygroup Faces3 selection mode  Extrude faces by holding Shift and dragging the gizmo.
This also works in ![]() Tri FacesShift + Ctrl + 3 selection mode.
Tri FacesShift + Ctrl + 3 selection mode.
Pushing/Pulling Faces
In ![]() Polygroup Faces3 selection mode
Polygroup Faces3 selection mode  Extrude faces by holding Shift + Ctrl and dragging the gizmo.
This also works in ![]() Tri FacesShift + Ctrl + 3 selection mode.
Tri FacesShift + Ctrl + 3 selection mode.
Extruding Edges
In ![]() Polygroup Edges2 selection mode
Polygroup Edges2 selection mode  Extrude edges by holding Shift and dragging the gizmo.
This also works in ![]() Tri EdgesShift + Ctrl + 2 selection mode.
Tri EdgesShift + Ctrl + 2 selection mode.
INFO
You can only extrude edges that are boundary edges. They're indicated by a dashed line in the viewport.
Edge Loop
 Select an edge, then press
 ![]() Select Edge RingX.
Select Edge RingX. 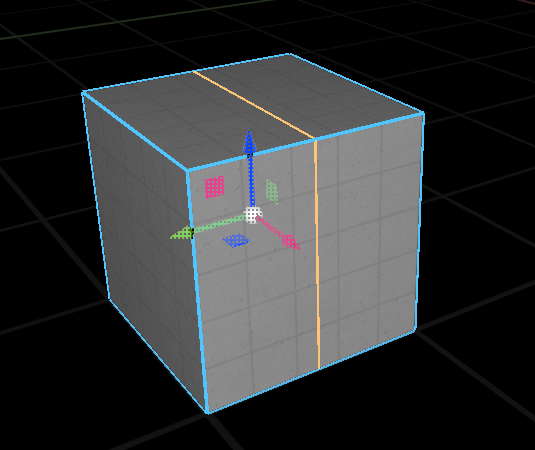 With edges selected, press
 ![]() ConnectV to connect.
ConnectV to connect.
INFO
There will be a single tool for edge loops in the future.
You can also do similar things with the ![]() CutC tool in
CutC tool in ![]() Polygroup Faces3 (selection required).
Polygroup Faces3 (selection required).
Applying Materials
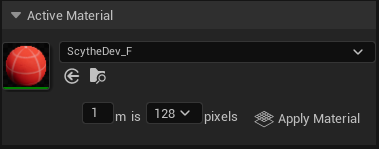 Select an Active Material in the lower left.
INFO
Selecting a material in the content browser will automatically set it as the Active Material.
 Apply the Active Material to selected faces with
 ![]() Apply MaterialShift + T
Apply MaterialShift + T
Blockout Materials
Scythe has built in blockout materials you can use. They'll show up in the Material Browser by default, but there's also hotkeys to make them the active material.
Hotkeys
Select Blockout Material 1Shift + Alt + 1Select Blockout Material 2Shift + Alt + 2
Select Blockout Material 3Shift + Alt + 3
Select Blockout Material 4Shift + Alt + 4
Select Blockout Material 5Shift + Alt + 5
Select Blockout Material 6Shift + Alt + 6
You can replace Scythe's blockout materials with your own by going to the Material Browser and clicking Settings as a quick shortcut to it.
Lifting Materials
Select a mesh and lift a material from the hovered face with Lift MaterialShift + RMB to make it the Active Material.
If you have the Material Browser open, it'll scroll to the newly lifted material.
Modify Textures/UVs
There's 2 main ways to manipulate your textures/UVs.
1) Fast Texture Tool - A fast UV Editor
Select the face(s) you want to edit the textures of, and open it in the ![]() Fast Texture ToolShift + Q
Fast Texture ToolShift + Q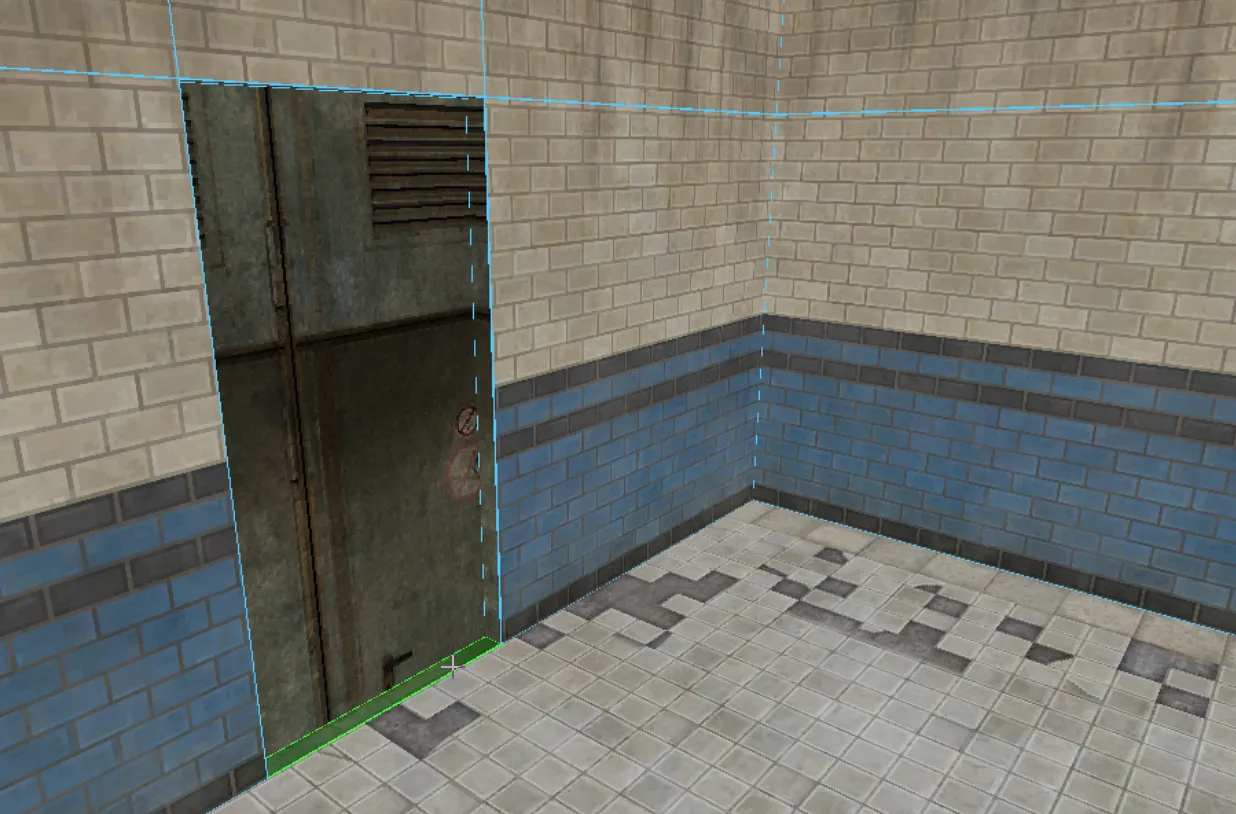 Very quickly unwrap and manipulate UVs. You can get away with only using this tool for all of your texturing if you want to. The blue rectangle is what the ideal shape is with the current texel density settings.
2) Modify Texture Panel
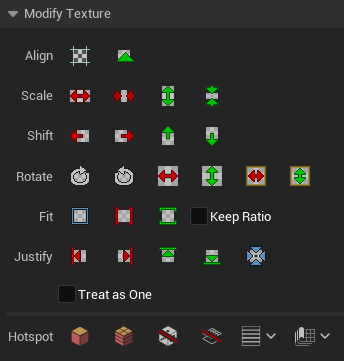 This is for quick 1-shot commands if you know exactly what you need.
WARNING
You should nearly always use ![]() Align to GridShift + Ctrl + G on your target face(s) before using the fit tools below. It avoids some odd bugs at the moment.
Align to GridShift + Ctrl + G on your target face(s) before using the fit tools below. It avoids some odd bugs at the moment.
Standard Wall Alignment
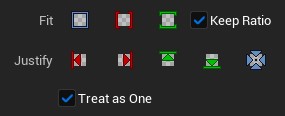 Use Keep Ratio and Treat as One for the best results when fitting a wall texture to a wall.
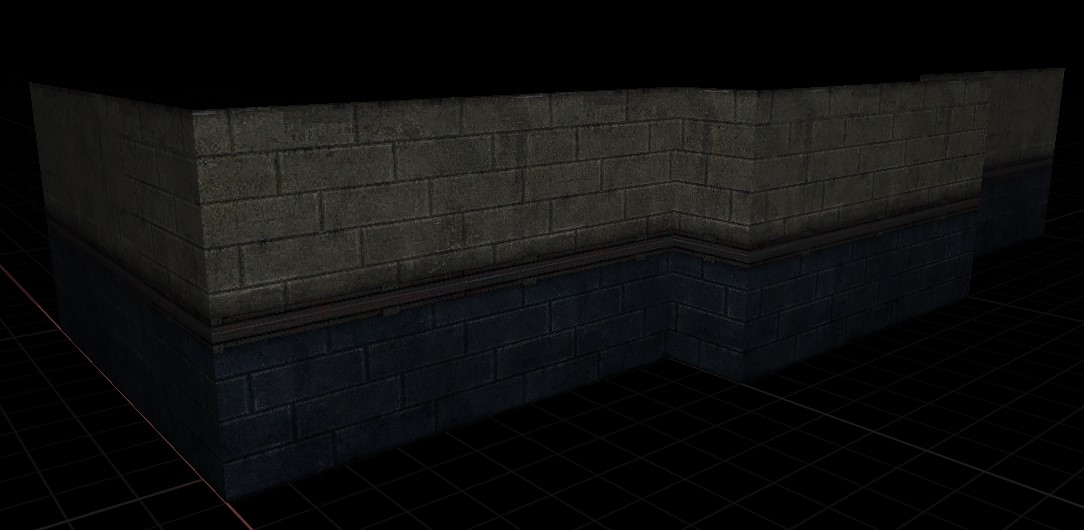 Easily fit a wall texture to a wall by selecting the wall and using
 ![]() Fit to Height.
Fit to Height.
Wrap Texture
 Select a face, then Wrap TextureAlt + RMB the hovered face next to it. This will wrap the texture/UV from the selected face to the hovered face. It'll also copy the material from the selected face.
Flow Texture
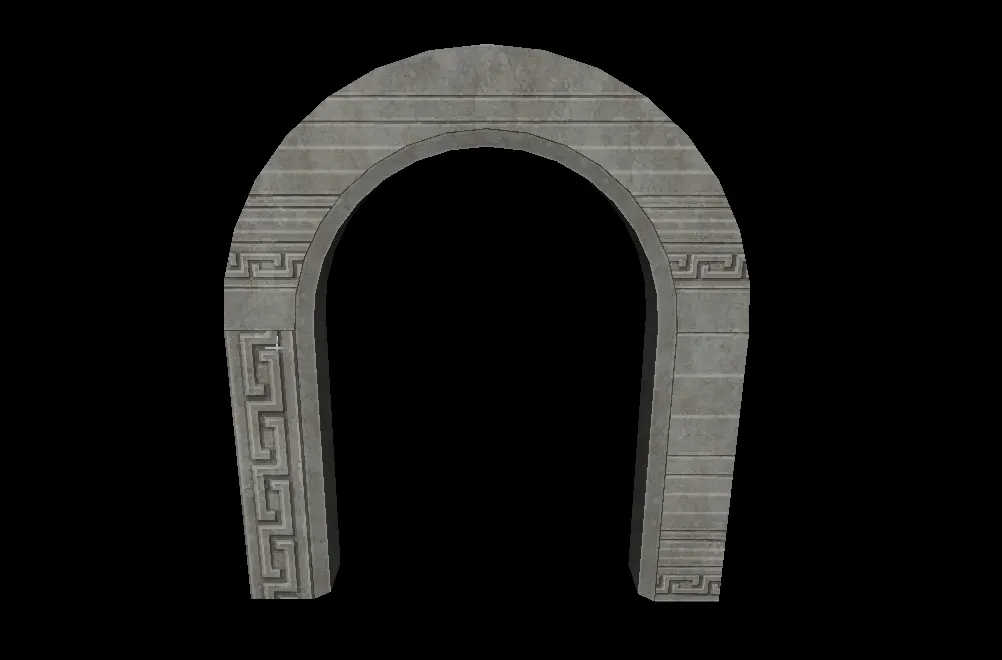 Select a face, then Flow TextureCtrl + Alt + RMB the hovered face next to it. This will flow the texture/UV from the selected face to the hovered face, flowing along curves. It'll also copy the material from the selected face. You'll only use this when you want to flow the texture along a curve. This is nearly identical to the Follow Quads unwrap in the Fast Texture Tool.
Temp Move Pivot
 Drag the gizmo with Middle Mouse Button to move the pivot of the mesh.
This is a temporary move, so it will reset when you make a new selection.
INFO
You can do fun things with this like go into gizmo rotation mode E then hold Shift to extrude while you rotate the gizmo.
Drag Alignment Mechanic
 Align the selection to mesh elements by dragging the gizmo and holding CapsLock
It's not the greatest hotkey, but Unreal won't let me use Alt or other useful modifiers for this. Might change in the future as hotkeys are figured out.